Activity: Make Tobi Walk
Ready for some action? Let’s make a small script to make Tobi walk. Follow the steps below:
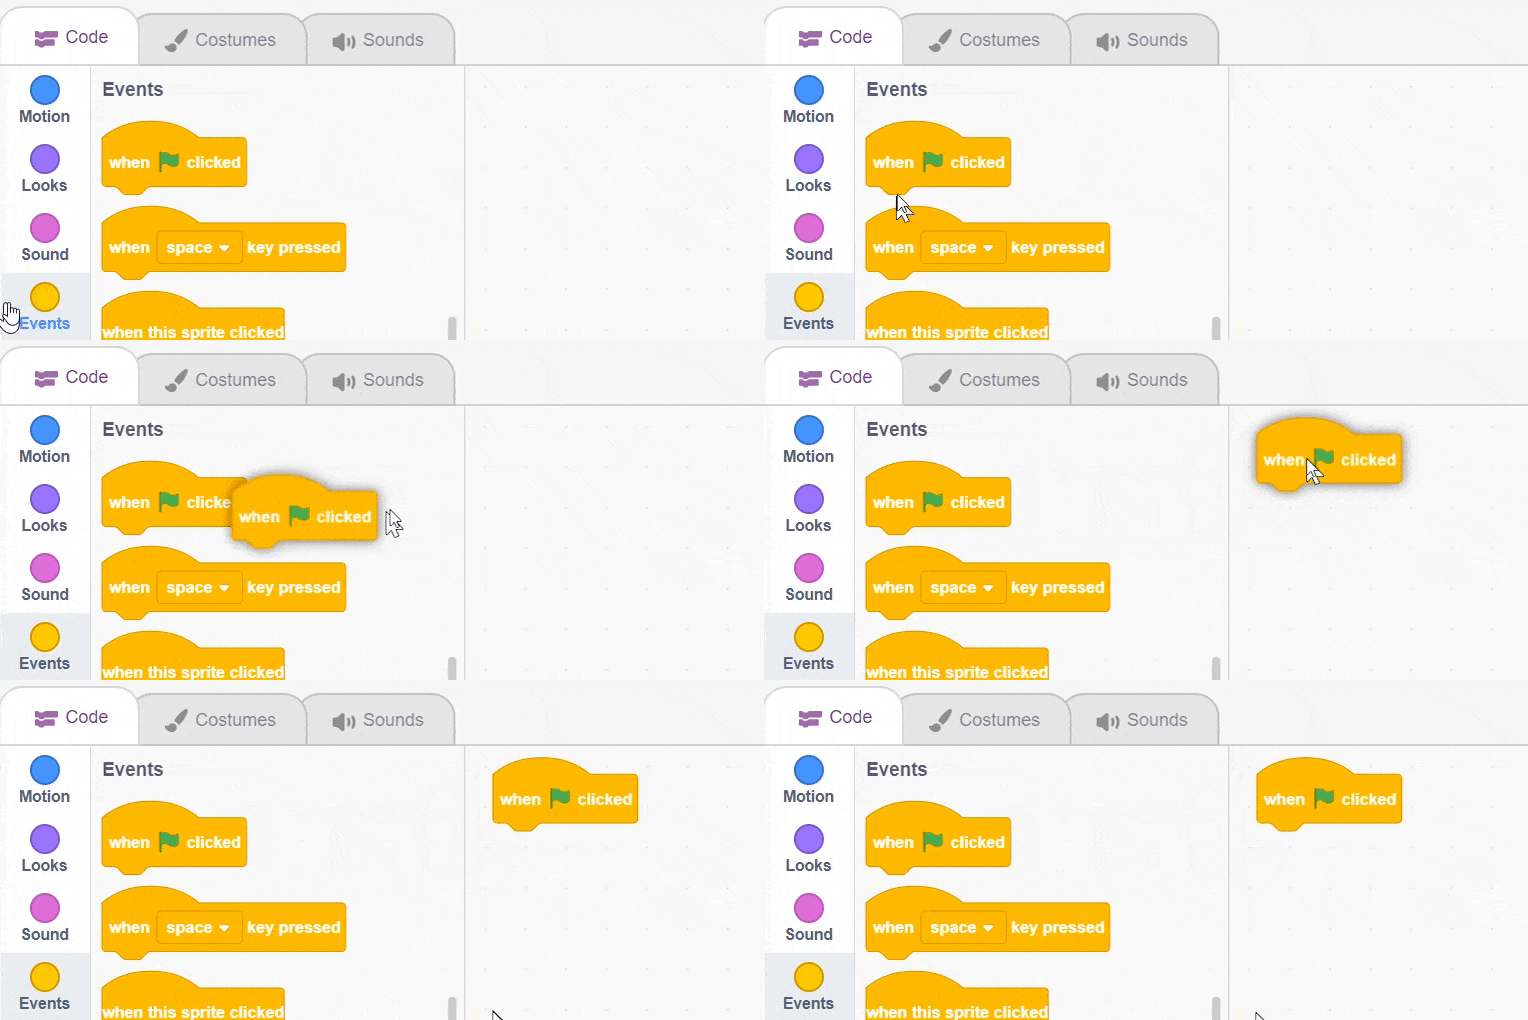
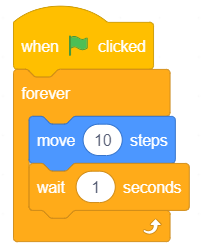
- Open the Events palette and drag and drop the when flag clicked block into the scripting area. The when flag clicked block is a special type of block called hat block. It is used to start a script. Using this particular hat block you can run the script by clicking on the green flag above the stage.
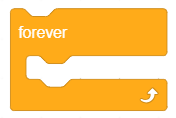
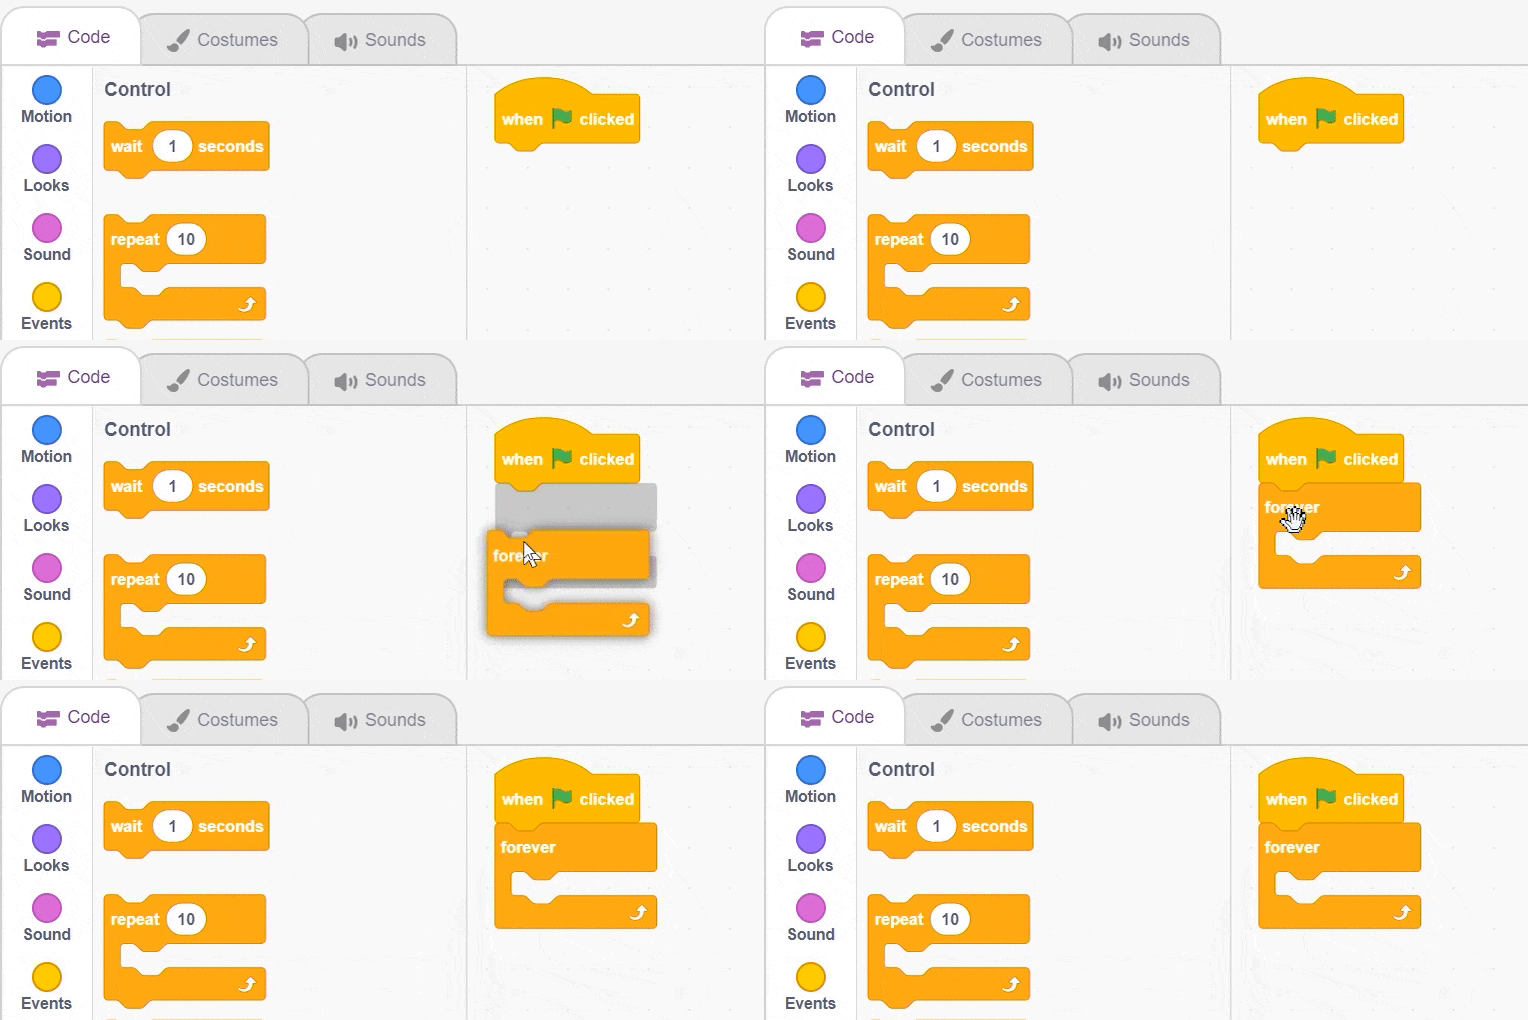
- Next, open the Control palette and drag and drop the forever block below the when flag clicked block.
This block is used when you want a set of blocks to keep running until the script is stopped manually.
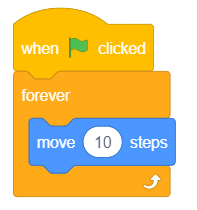
- Then, open the Motion palette and drag and drop the move () steps inside the forever block.
This block is used to move the sprite by a specified number of steps. In our case, it is 10. - Next, open the Control palette and drag and drop the wait () seconds block below the move () steps block and change the delay value to 0.1 seconds. The wait block is used to pause/delay the script execution by the specified time.
- Run the script by clicking the green flag.
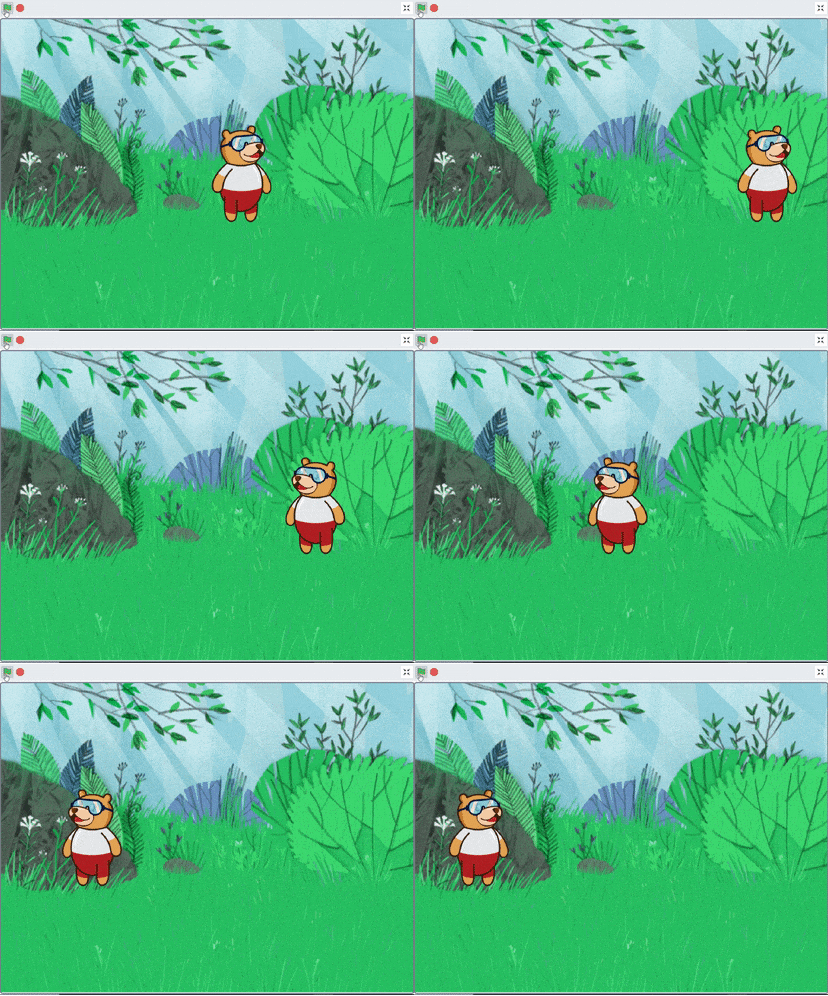
What just happened? Where did Tobi go?! As it seems, he went out of the frame. Let’s fix this so that the Tobi doesn’t wander off again.
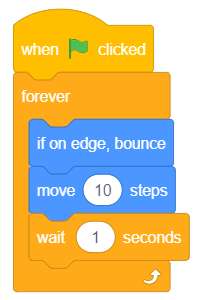
- Open the Motion palette and drag and drop the when on edge, bounce block inside the forever block.
This block detects whether the sprite has touched the edge of the stage or not and change the direction if it has. - Run the script by clicking the green flag.
What is happening to Tobi Now? Is he upside-down? To stop this, you must change the rotation style.
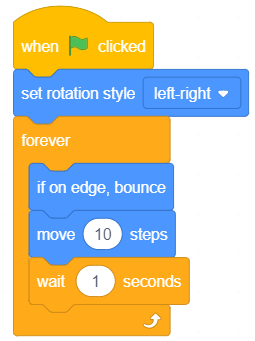
- Go the Motion palette and drag and drop the set rotation style () below the when flag clicked block and select left-right from the drop-down.
- The script is now complete! Run it by clicking the green flag.
Yay! You’ve just completed your first script! Pat yourself on the back.
Saving the Program
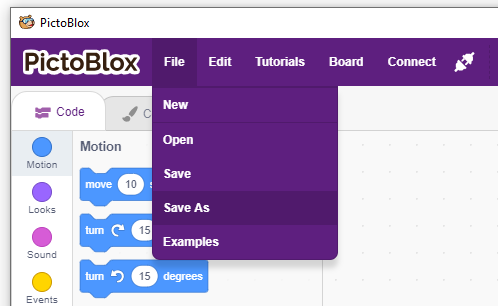
- To save the program, click on File > Save As.
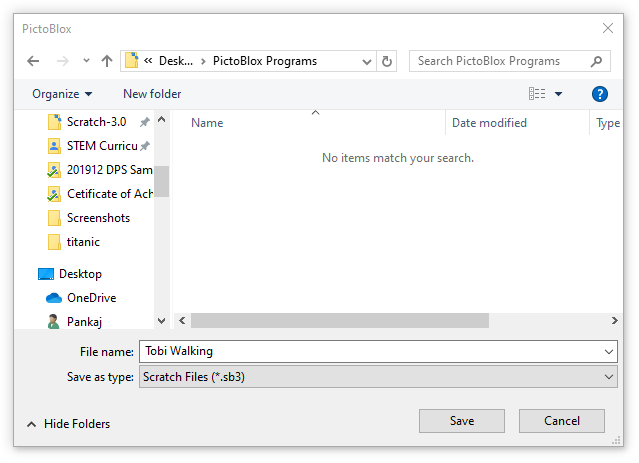
- A window will popup. Choose the location as Desktop or any other relevant folder. Name the file Tobi Walking.
- Click on Save.
The file is saved with a .sb3 extension in your computer.
Assignment
Before you move on to the next lesson, a small assignment awaits you!
You must upload the PictoBlox program you wrote in this activity to the website.
Submitting the assignment is a must in order to receive the certificate after completing the course.
Follow the steps below to upload your assignment:
- Click on Choose File.
- Select the image from the pop-up window that opens up.
- Once the image is selected, click on Upload Assignment.

File types allowed is SB3 file generated from the PictoBlox program. The maximum file size allowed is 5 MB.
Good luck!

