Voltage and Batteries
What is Voltage?
Before we directly dive deep into voltage and its source, let’s reconsider our water circuit for a moment; we saw that in our system, the pump is the power source and the pressure that it applies to force the water around is the voltage. Therefore, voltage is nothing but a type of pressure difference that a power source creates at its two ends. This difference makes the charge flow around the circuit.
Battery and Polarity
There exist many power sources, but the most common, and the one that can be found perhaps in every house is a battery. Since we’re talking about batteries, it’s time to bring in a new concept: polarity. Polarity is the property of having two poles that have opposite physical properties; as far as electronics is concerned, there are two poles: positive (+) and negative (-). A battery also has a polarity; it simply means that one end is the positive pole, and the other is the negative pole.
The positive pole or the positive terminal is said to have a higher voltage as compared to the negative terminal. But, what makes polarity so important that we’re giving it a good amount of our attention? It is important because it decides the direction in which the charge in the circuit will flow. If the polarity is reversed,i.e. the positive becomes negative and the negative becomes positive, the direction of flow of charges is also reversed. In certain devices, the charges don’t move at all if the polarity is reversed. You must have noticed that in a remote when you place the battery in the opposite direction, the remote doesn’t work.
All of this said, let’s perform a short and sweet activity.
Activity 1.1: The Case of the Missing Polarity

Let’s become Sherlock Holmes for a few minutes and solve the case of the missing polarity. Ms. AA Battery had an accident and has unfortunately lost her memory. She doesn’t know anything her polarity anymore, i.e. which end is the negative pole and which end is positive. We must help her recall her polarity. The only clue that we have is that she always does her hair in the same unique way: make a bun on top of her head. How you find out which end is positive and which is negative?
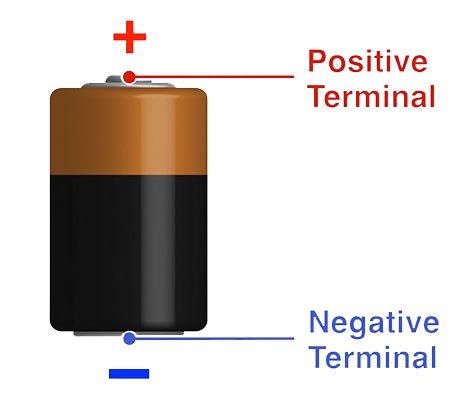
Well, every battery has one end where there is a bump. That end is the positive pole or the positive terminal, and the other is, therefore, the negative pole, or the negative terminal. Now you can remove the paper from the battery. In most cases, the two terminals are always marked with a ‘+’ sign near the positive terminal, and a ‘-’ sign near the negative terminal. But there are certain manufacturers who consider people to be intelligent enough, just like us, to be able to identify the polarity.
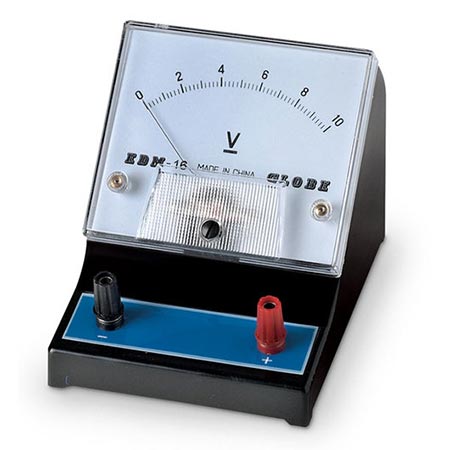
Voltmeter
In a circuit, we measure the voltage using a device known as a voltmeter. A voltmeter is always connected across the component whose voltage we are measuring. In other words, the ends of the voltmeter are connected to the ends of the component.
Activity 1.2: Show me what you got!
No, we’re not done yet with voltage! First, we saw what voltage is; then we had a look at the concept of polarity and performed an activity to find out the polarity of a regular AA battery. Now, we’re going to put the battery to a test and see how much voltage can it generate. For that, we’re going to use a very special and magical device proudly known as evive: the body, mind, and soul of this activity, and many more to come. It has a lot of features that can help you perform a wide variety of activities. But for now, let’s focus on the function that will help you in this one. Take evive out form the starter kit and hold it in your hand; on its top, in the bottom right corner, you’ll see three relatively big holes; one each of blue, black, and red colour.
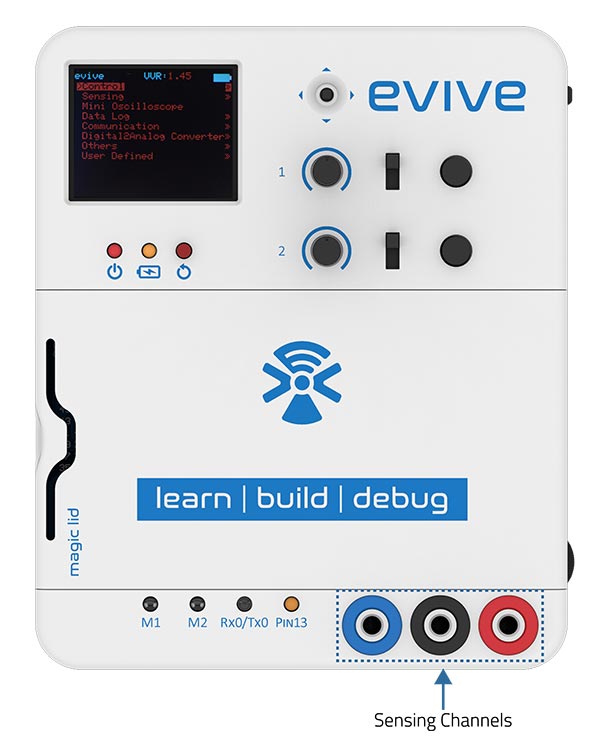
These are the probes that are used to sense external quantities such as voltage and current. we’ll be using the red and the black ones to measure the voltage of the battery. Among the different components in the kit, you’ll also find 2 channels: one red and one black. We’ll use these channels for our activity.

- First of all, we must power up our evive. But, how do we do that? On its ride side, you’ll see a switch labeled POWER. It will be in the centre, under OFF. Flip it to its left, i.e. to INT; this will power up the evive with its internal battery.

- Since you’re working with evive for the very first time, you must first install the firmware so that you can use evive’s menu. Download the firmware from here and upload it by following the instructions given in the link.
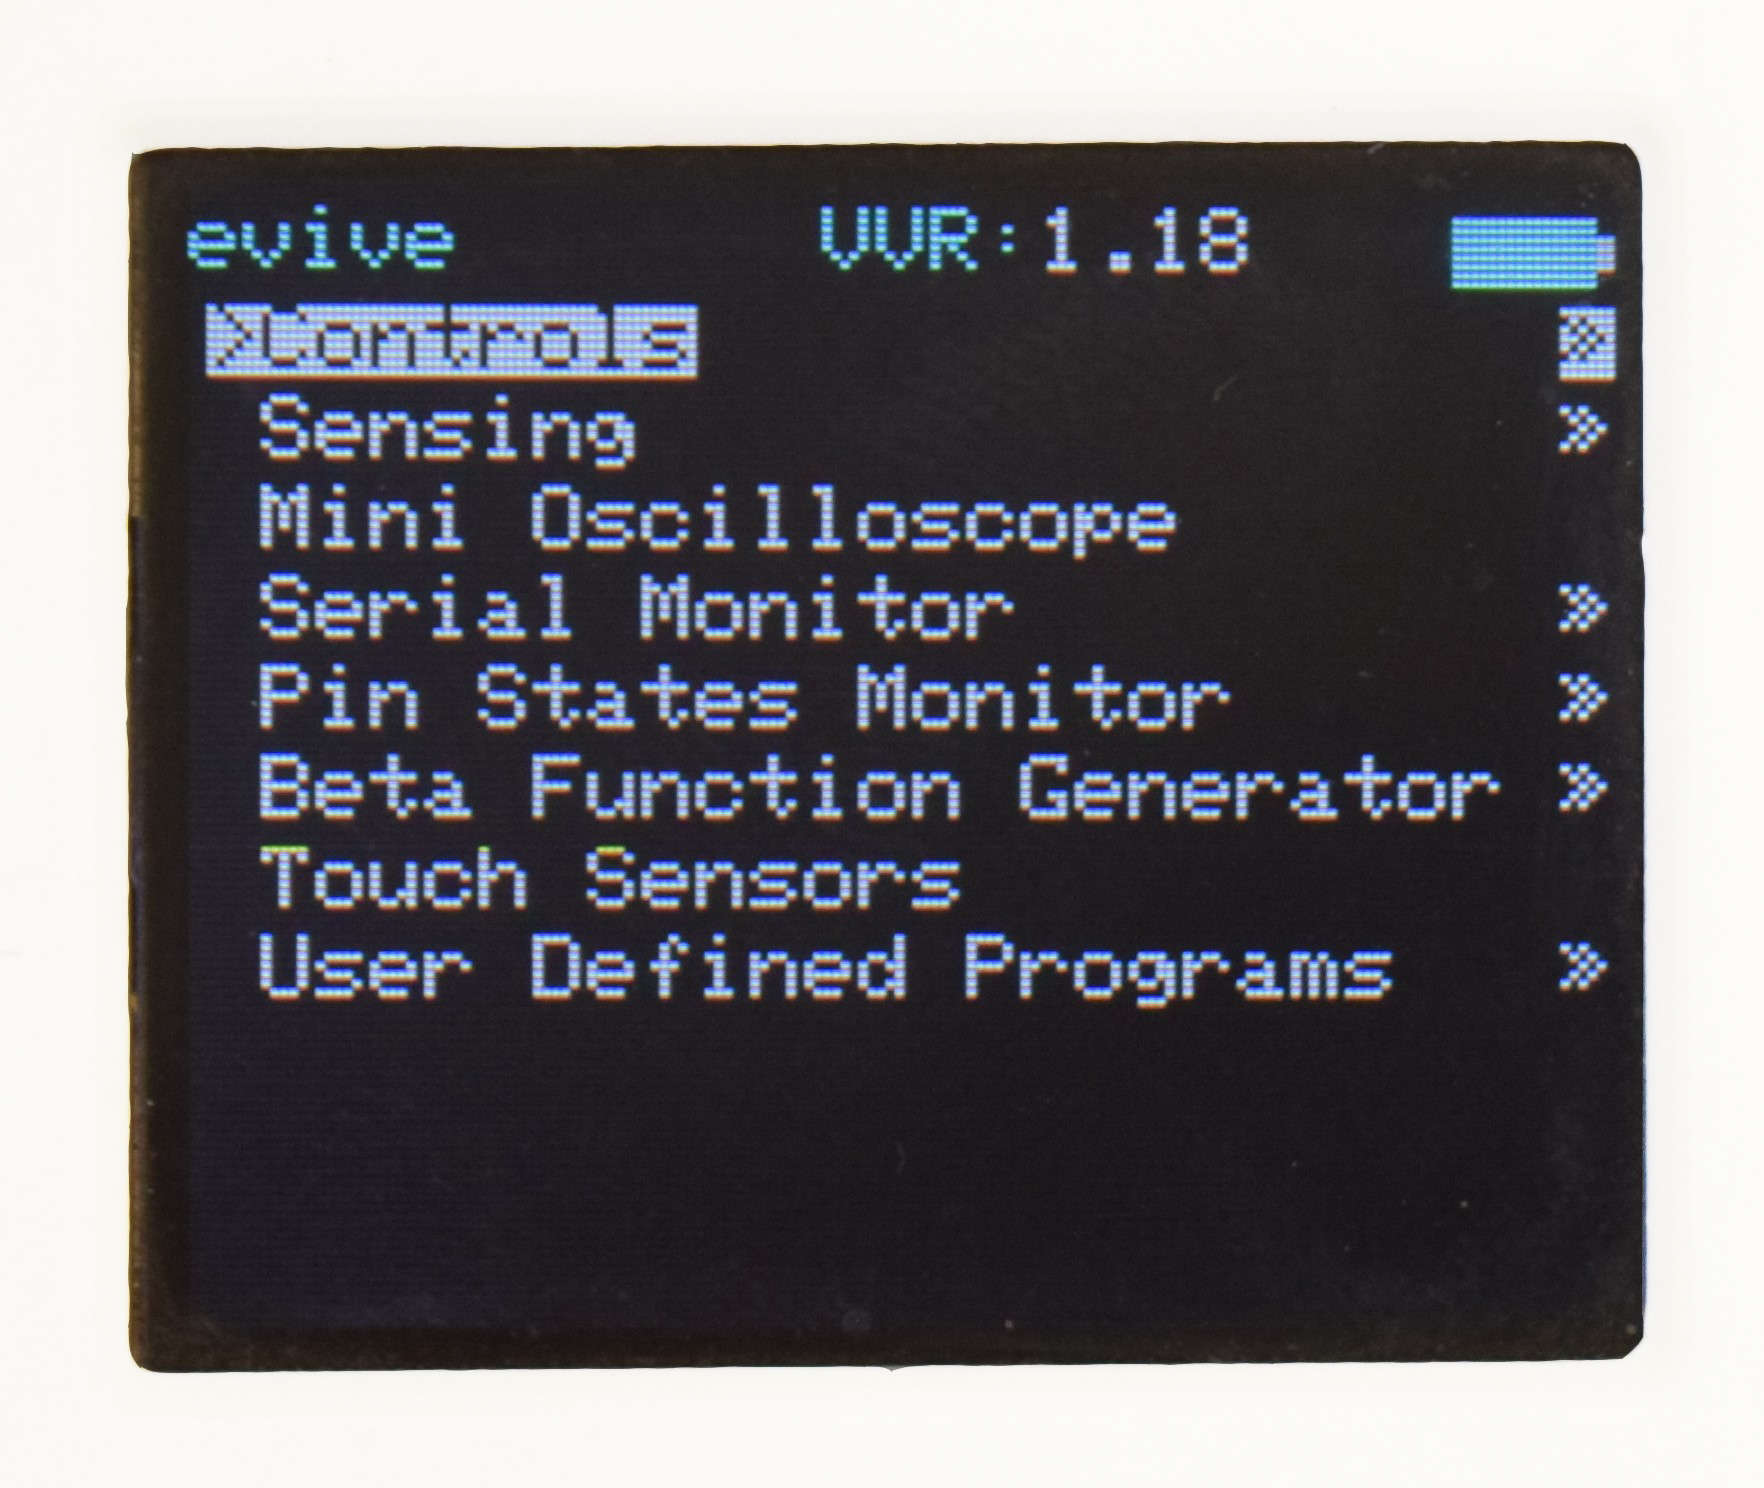
As the upload finishes, you’ll see a menu on the TFT screen that looks like this:
 This menu is evive’s menu. Beside the screen, you’ll see a teeny tiny button surrounded by four arrows; this button is the navigation button.

- In the menu, the second option is Sensing; select this option using the navigation button by pushing it once towards its right.
- Then, navigate through the menu as follows: Sensing > ProbeV (30V) & I/V (5V).
- Now, take one of the two channels and insert it in PROBE V, i.e. the red probe. Next, insert the second channel in the black probe, i.e COM.
- Next, take the free end of the channel connected to PROBE V and touch the positive terminal of the battery with it. similarly, take the free end of the other channel and touch the negative terminal with it.


As soon as you touch the battery terminals with the probe, you’ll see 1.5 written below Probe V; and that, my friends is the voltage of a regular AA battery that you use at your home.